
Stop Guessing Against Lobbers: Choose the Right Ball to Finish
Choose by depth and position: control-smash deep or high-kicking balls, attack short lobs, and drop only when early, balanced, and able to keep it short.
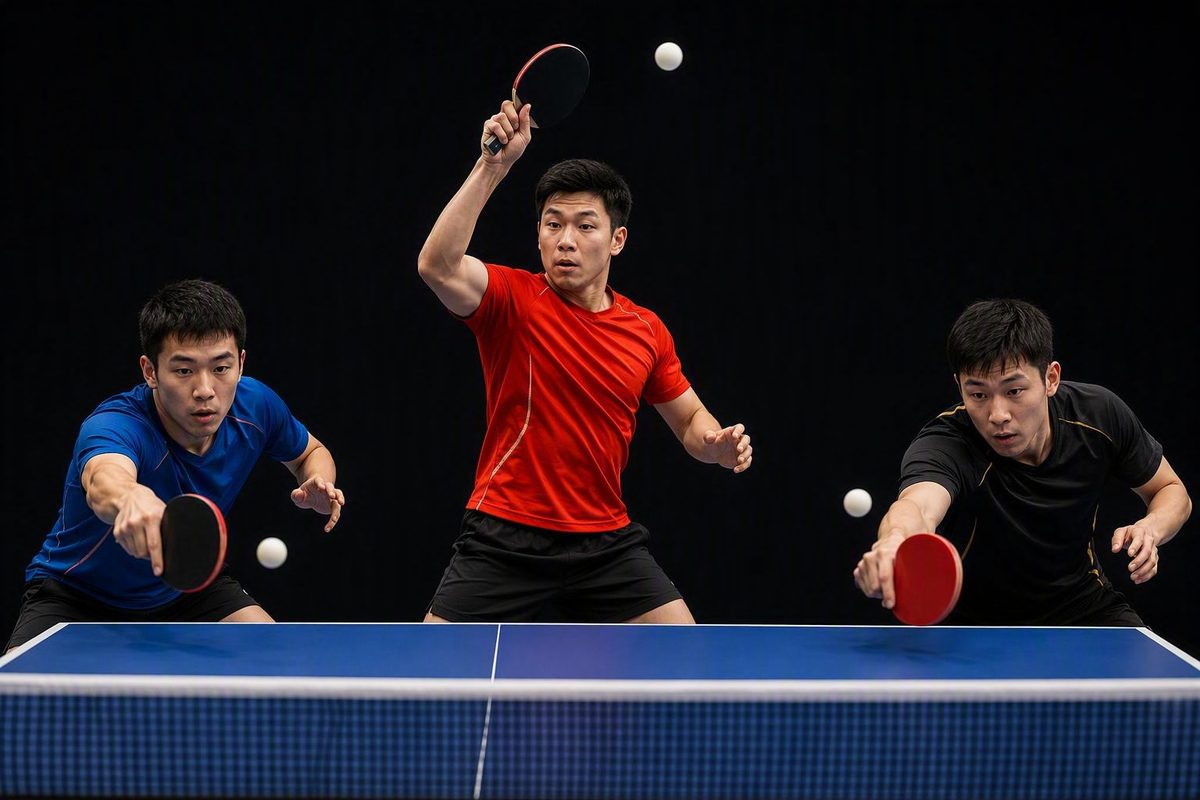
Smash by default—but do not try to blast every lob for an immediate winner. Control-smash deep or high-kicking balls, attack genuinely short lobs decisively, and use a drop shot only when you have moved in early, are balanced, and can keep the ball truly short. Think beyond “smash or drop”: pressure the lobber, force a weaker return, then finish the right ball.
The quick answer: smash by default, drop selectively
When an opponent retreats and starts lobbing, your primary tactic is still the smash. The key distinction is between a finishing smash and a controlled smash.
A deep, spinning lob is usually a pressure ball: hit firmly, place it well, and remain ready for another shot. A short lob is a finishing ball: move in, take it early, and exploit the steeper angle. The drop shot is a change of pace, not an automatic response to empty space near the net.
This approach reflects converging coaching judgment rather than comparative match statistics. Larry Hodges recommends using placed smashes to force a weaker lob before attempting the winner, while treating a drop against a deep lob as difficult and risky. Samson Dubina likewise presents the forehand smash as the main tactic and the drop shot as a selective option based on depth, spin, and positioning (Larry Hodges’s guidance on smashing lobs).
| Incoming ball | Attacker position | Opponent position | Recommended shot | Immediate objective |
|---|---|---|---|---|
| Deep topspin or high-kicking lob | Balanced with space | Far behind table | Controlled, forward-directed smash | Maintain pressure without overhitting |
| Deep lob while off balance | Late or recovering | Any deep position | Safe placed smash | Stay in control and improve the next ball |
| Short lob near the net | Moving forward early | Recovering or stranded deep | Decisive rising-ball attack | Finish through angle and early timing |
| Short, manageable lob | Balanced and close to bounce | Far behind table | Optional early drop shot | Keep it short and force a forward sprint |
| Repeated well-retrieved smashes | Stable and reading the rally | Settled into defense | Placement change or selective drop | Break rhythm and create open space |
Use this compact rule during play:
- Deep and difficult: control and place.
- Short and attackable: finish.
- Short, manageable, and defender still deep: consider the drop.
Why players keep smashing when the front of the table looks open
A viewer’s question about repeated jump smashes in professional rallies captures a common frustration: if the defender is several meters behind the table, why not touch the ball into the empty forecourt?
Because open space is not the same as an easy shot.
A deep lob may arrive with substantial topspin or sidespin, bounce high, and carry toward or across the attacker. To play it short, you must move forward, read the bounce, contact early, and absorb enough energy that the ball does not drift long or sit high.
That mediocre drop can undo the pressure created by the previous attacks. By contrast, another controlled smash can keep the defender pinned deep while testing movement, balance, and spin control.
The first hard attack therefore does not need to win. Its job may be to produce:
- a shorter lob;
- a return with less spin;
- a ball directed into a predictable zone;
- or a defender who is still moving when the next attack arrives.
Repeated smashing is not an instruction to repeat the same shot blindly. Change the target, pace, or angle while watching the quality of the return. Once the defender sends back a weaker ball, convert pressure into a finish.
Nor is jumping mandatory.
Read depth and spin before choosing the stroke
Read depth first. It determines where your body must go before your racket can make a sensible choice.
For a deep lob, move back enough to create a comfortable contact zone. Do not remain crowded against the table and improvise with your arm. For a short lob, move forward immediately; waiting allows the ball to rise awkwardly or gives the defender time to recover.
Then read the spin.
Topspin: create space and control the rebound
A topspin lob can kick forward after touching the table. If you stand too close, the ball jams your body or passes your preferred contact point before the stroke is ready. Give yourself room and favor a controlled, forward-directed smash over automatic maximum power.
Sidespin: move with the break
Sidespin changes the ball’s lateral position after the bounce. Adjust your feet toward the break before striking.
Backspin and no-spin: judge the actual trajectory
Backspin, no-spin, and some sidespin lobs may stay closer to the table than a strong topspin lob, which can permit a firmer attack. That is not a license to swing at full power: depth, height, and your balance still determine how aggressively you can strike.
Lobbers deliberately use height and spin to create an awkward bounce and provoke an attacking error, so read the ball rather than assuming every high return behaves alike (Killerspin’s explanation of forehand-lob spin and purpose).
Timing also changes with depth:
- Short lob: take it on the rise and use the available angle.
- Conventional lob smash: contact around or a little above eye level when possible.
- Ball you cannot reach early: learn to strike it while falling rather than chasing an impossible contact point.
- Immediate off-the-bounce attack: reserve this for advanced practice because the timing window is small.
The objective is not to contact every lob at one prescribed height. It is to create a repeatable strike zone while staying behind the ball and balanced enough to recover.
Build the point with controlled power and placement
Treat the rally as a four-step sequence:
- Establish control. Put the first difficult smash on the table with purposeful pace.
- Move or jam the lobber. Choose a target that restricts the next return.
- Recognize the weaker ball. Look for less depth, less spin, reduced height, or a defender still moving.
- Finish that return. Increase power, sharpen the angle, or change short.
Your swing direction should reflect where the lob lands. A short lob near the net allows a more downward attack because you have table length and angle available. A deep lob near the endline needs a more forward path; forcing the racket sharply downward increases the chance of finding the net.
Samson Dubina’s coaching guidance makes this depth-based distinction and recommends controlling deeper balls while using more power—or selectively dropping—shorter ones (“Beat the Lobber” tactical guide).
Choose targets for a purpose:
-
Backhand: can reduce the defender’s counterattacking options and make the reply more predictable.
-
Wide corners: make a distant defender cover more ground.
- Opposite short corner: useful when changing from a wide attack to a drop shot.
No target is universally best. A passive defender may be vulnerable at the body; an athletic lobber may cover wide angles but struggle to recover after changing direction. An active lobber who counter-hits from one wing may require a different pattern from a player who only retrieves.
A standard controlled smash should remain your base stroke. Jump smashing and immediate off-the-bounce attacking can alter reach and timing, but they add difficulty. Earn those options after you can repeatedly read depth, arrive balanced, and place the conventional attack.
Use the drop shot only when you can keep it short
A useful drop-shot opportunity has four conditions:
- The ball is short enough—or manageable enough—to contact early.
- You have already moved toward the table.
- You are balanced at contact.
- The defender remains far behind the table.
If one condition is missing, the safer choice is usually another placed attack.
For execution, approach early and contact soon after the bounce. Relax the grip, touch softly, and draw the racket back slightly through contact to absorb some of the incoming energy. The goal is not merely to land the ball on the table; it is to prevent the defender from reaching it comfortably.
Against a high topspin ball, contact close to the bounce and close to the table, using a controlled touch over the ball. Against underspin, begin with the racket lower and work underneath the ball. Tahl Leibovitz demonstrates this distinction in his forehand drop-shot instruction.
For sidespin, first track the lateral break and move into position. Avoid trying to invent a complicated soft-contact correction while reaching. Stable positioning gives you the best chance to control both direction and length.
Disguise helps. Approach with preparation that could produce an early attack, then soften the hand near contact. Similar preparation can delay the defender’s movement, although it does not rescue poor touch or late positioning.
Most importantly, treat the drop as the first ball in a two-shot pattern:
- Play short while the defender is deep.
- If the defender reaches it, prepare to send the next ball deep or wide.
Tom Lodziak similarly presents the drop as a secondary tactic after power attacks, using soft contact shortly after the bounce to draw the lobber forward before exploiting space elsewhere (tactics for playing a fisher or lobber).
Do not admire the drop after contact. Recover for a short touch, flick, emergency lob, or counterattack. A drop that travels long or sits high may restore the defender’s position and give away the initiative.
Train the decision, not just the strokes
Knowing the rule is not enough. In matches, depth and spin change from ball to ball, so practice must force you to read before acting.
Depth-recognition drill
Have a feeder vary short and deep lobs randomly.
- Control-smash deep feeds.
- Attack short feeds decisively.
- Attempt a drop only on designated manageable feeds.
- Reset if you choose before reading the bounce.
The feeder should avoid obvious patterns. Your first movement—not the final stroke—is the main training target.
Pressure-and-finish drill
Play two controlled smashes to different targets, then finish a deliberately weaker return.
For example:
- Smash deep to the backhand.
- Smash to the body or opposite corner.
- Attack the shorter feed, or change short if it is manageable and the feeder remains deep.
This builds the habit of creating the winner instead of forcing it from the first difficult ball.
Spin-and-position drill
Rotate topspin, backspin, sidespin, and no-spin lobs. The attacker must call the spin, move into position, and then select power and direction.
Against topspin, create more space. Against sidespin, move laterally with the break. Against balls that stay closer, move forward and assess whether a firmer attack is available. Do not score only the result; score whether the initial movement matched the ball.
Track four practical measures
Record:
- whether the attack landed;
- whether it hit the intended target;
- whether a drop shot would bounce twice;
- and the quality of the opponent’s next return.
The fourth measure matters because a shot can succeed without winning immediately. A controlled smash that produces a short, low-spin lob has done its job. A drop that lands but lets the opponent attack has not.
For club-level training, prioritize balance, depth recognition, and placed smashes. Add jump smashes or aggressive off-the-bounce attacks only after the core decision pattern remains stable under random feeds.
The rule to carry into competition is simple: control and place the difficult deep lob, attack the genuinely short lob, and drop only when early movement and soft contact can keep it short. You are not choosing one shot forever. You are pressuring the lobber, creating a weaker return, and recognizing the ball that is finally ready to finish.